
Installation guide
OVA & Server Setup Guide
Start by importing the mail-archiver.ova into your virtualization software, then power on the VM and follow the server configuration steps to set network, DNS, domain, and Docker build settings. Finally, configure journaling in your mail platform to forward copies of all emails to the archiver.
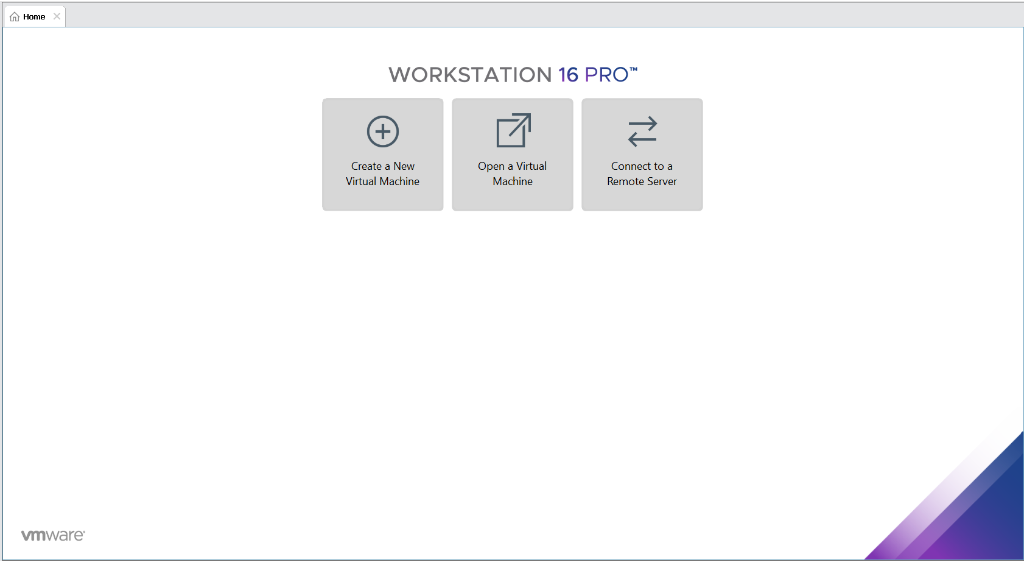
Open Your Virtualization Software
Launch your virtualization software (e.g. VMware Workstation 16 Pro). You will see the home screen with options to create, open, or connect to virtual machines.
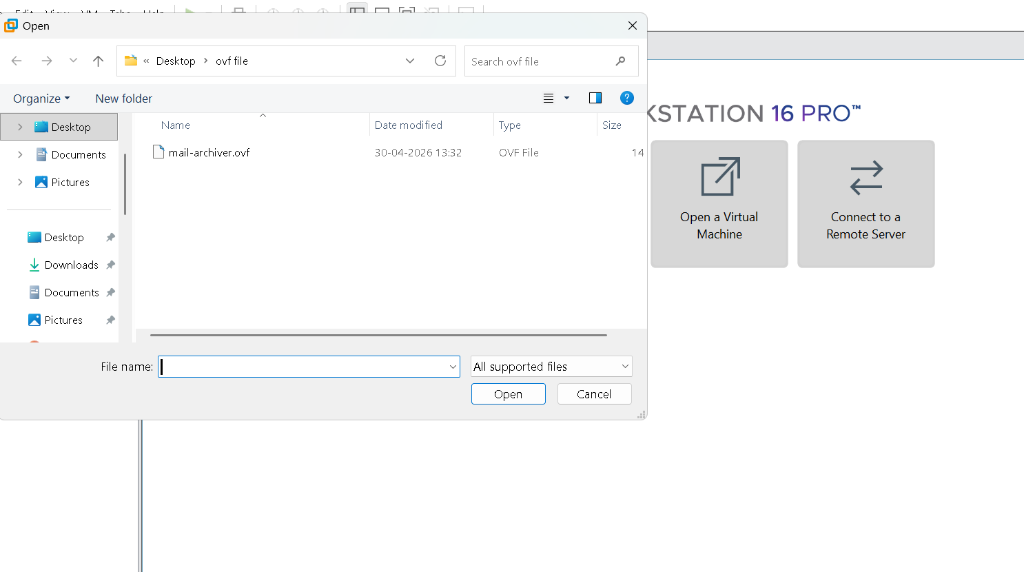
Open Virtual Machine & Select the OVA File
Click Open a Virtual Machine on the home screen. In the file browser that appears, navigate to the location where you saved the OVA, select mail-archiver.ova (or mail-archiver.ovf), and click Open.
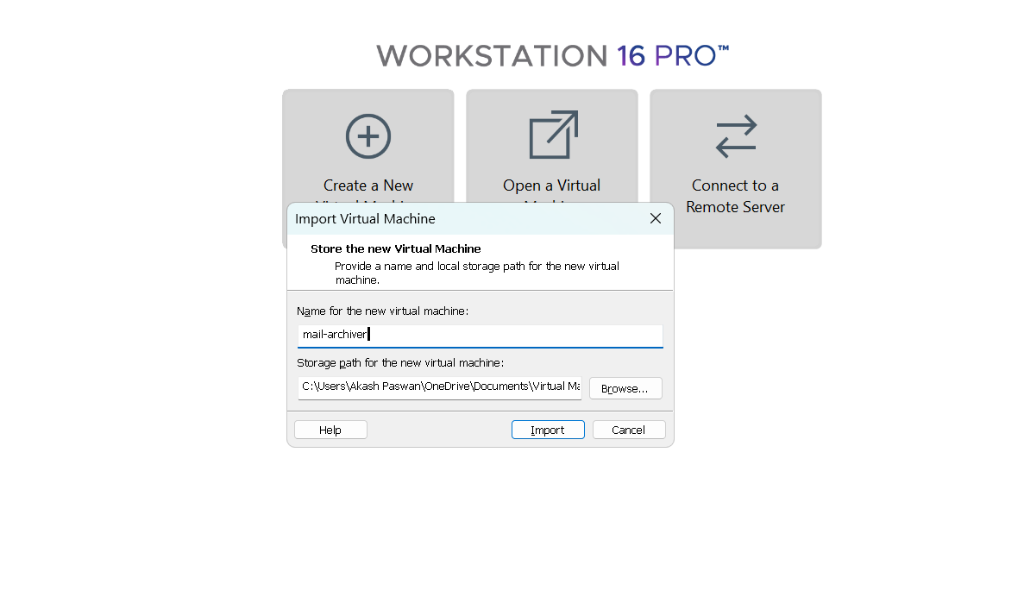
Assign a VM Name & Import
The Import Virtual Machine dialog will appear. Enter a name for the virtual machine — for example, mail-archiver — leave the storage path as the default or choose a preferred location, then click Import to begin the import process.
Power On Your VM
Once the import completes, your VM will appear in the library on the left. Select it and click Power On (or press the play button) to start the virtual machine. The server setup wizard will launch on the first boot.
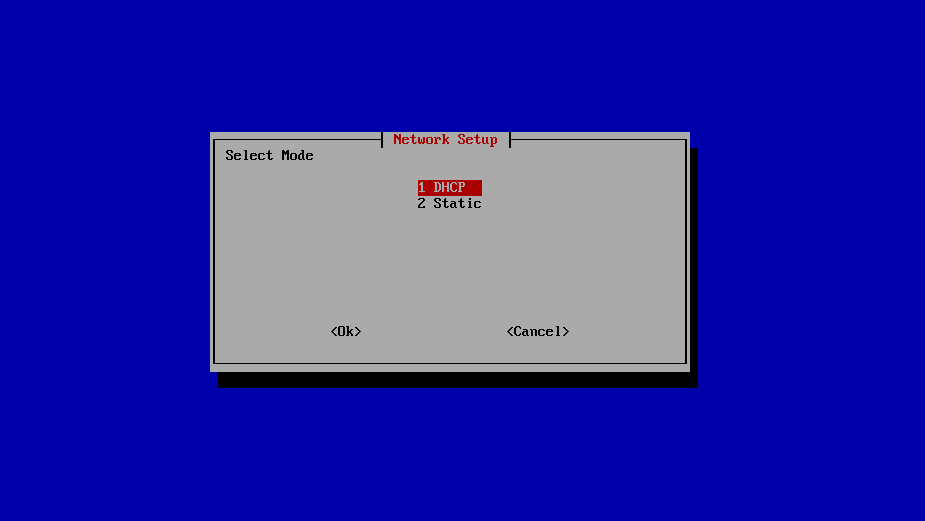
Choose DHCP or Static IP
On the Network Setup screen, select how this server should receive its network settings. Choose DHCP if your router or DHCP server will assign the address automatically. Choose Static if the archiver server must always use a fixed IP address.
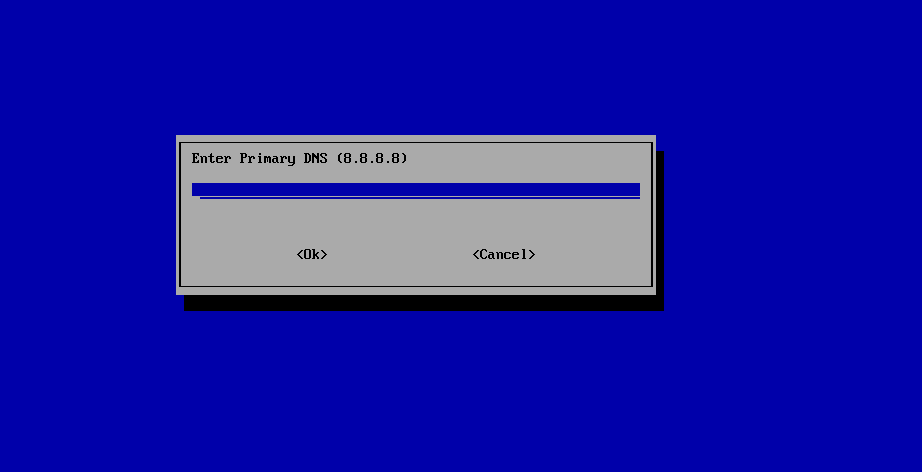
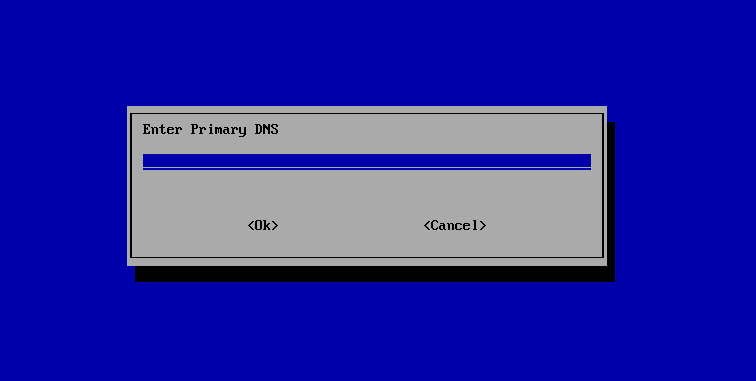
Enter Primary DNS
Enter the primary DNS server that the archiver should use for domain lookups. The screen suggests 8.8.8.8 as an example; replace it with your preferred internal or public DNS server if needed, then select OK.
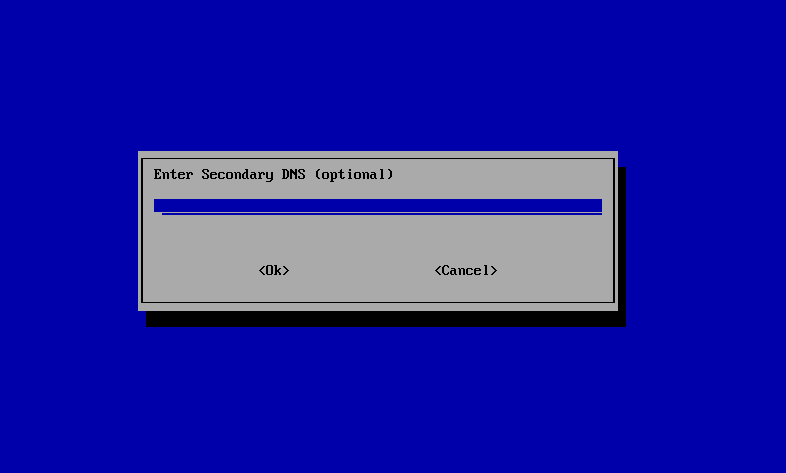
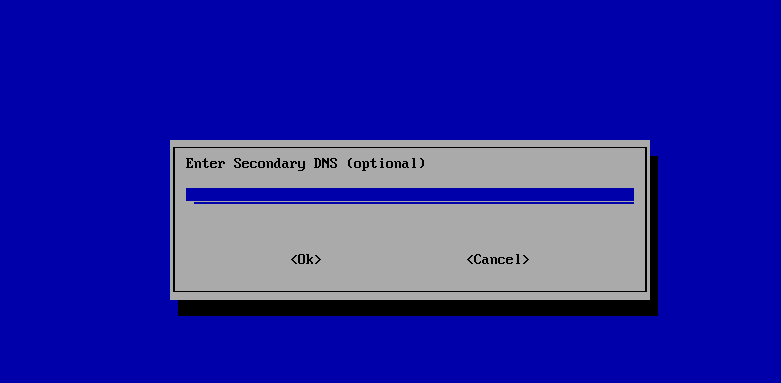
Enter Secondary DNS Optional
Enter a secondary DNS server if you have one. This field is optional, so you can leave it blank if the primary DNS server is enough, then select OK.
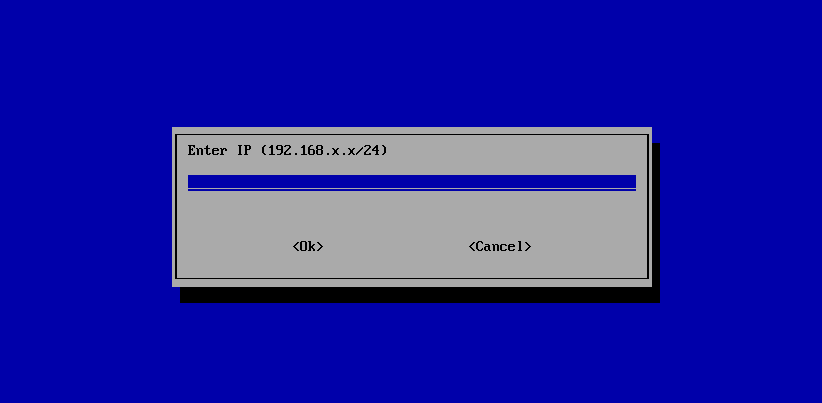
Enter IP Address
For Static IP setup, enter the fixed address for this archiver server in CIDR format. Use the format 192.168.x.x/24, replacing the x values with the correct network address for your environment.
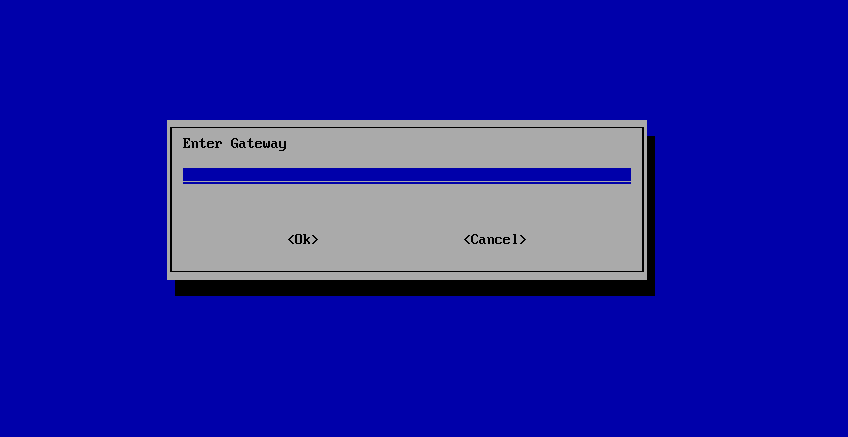
Enter Gateway
Enter the default gateway for the server network. This is usually the router or firewall address on the same subnet as the static IP.
Enter Primary DNS
Enter the primary DNS server for the static network configuration. Use an internal DNS server if your domains resolve internally, or a public resolver if that is appropriate for your deployment.
Enter Secondary DNS Optional
Enter a secondary DNS server if available. This value is optional and can be left blank when there is no backup DNS server.
Static 6
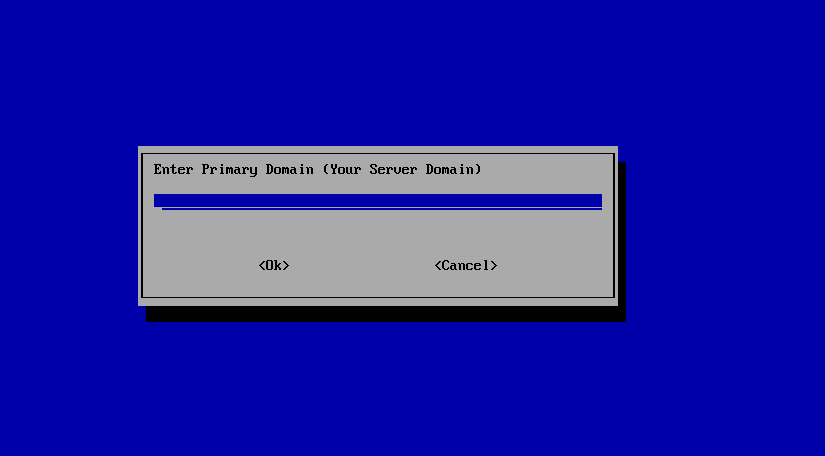
Enter Primary Domain
Enter the primary domain for the archiver server itself. This should be the server domain name users or services will use to reach the email archiver.
Static 7
Enter Email Archive Domain
Enter the email domain that will be archived. This is the customer or organization domain whose mail flow should be handled by the archiver.

Static 8
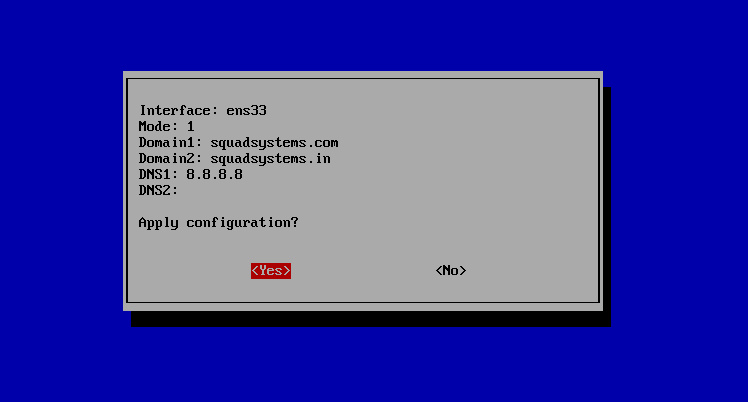
Check Configuration and Apply
Review the configuration summary carefully. Confirm the interface, selected network mode, primary domain, archive domain, DNS values, and any static IP details. Select Yes only when the values are correct.
Static 9
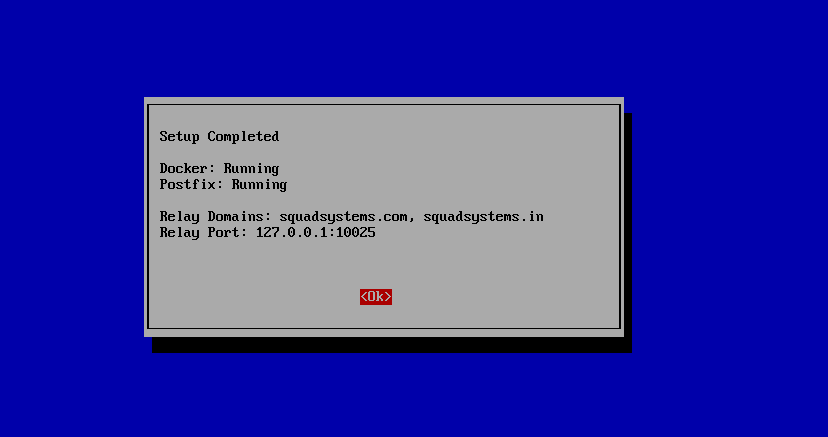
Setup Complete
The completion screen confirms that the setup has been applied and that the required services are running. Verify that Docker and Postfix show as running, then select OK to continue.
Static 10
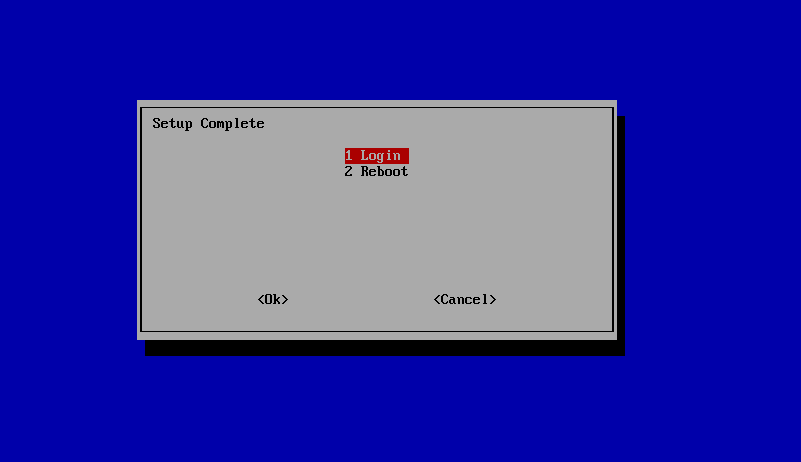
Login or Reboot Server
After setup completes, choose Login to continue directly into the server console, or choose Reboot if you want the server to restart before the final command-line steps.
Static 11
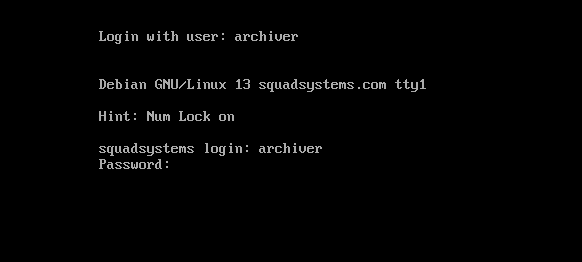
Login with Username archiver
At the console login prompt, sign in with the default archiver user. Type the username exactly as shown below and press Enter.

Static 12
Enter Password
When the password prompt appears, enter the default password for the archiver user. The password characters may not appear on screen while typing.
Static 13
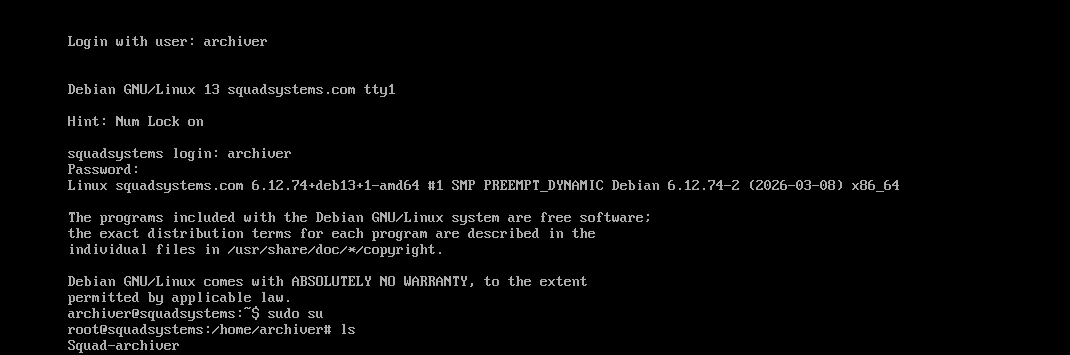
Switch to Root User
After logging in, switch to the root user so the deployment commands have the permissions required to build and start the archiver services.
Static 14
Download & Edit the .env File
Download the pre-configured .env template below, transfer it to the
Squad-archiver directory on the server, then edit only the values marked in red before
starting Docker.
Save this file as .env (no
extension) inside ~/Squad-archiver/ on the server.
Static 15
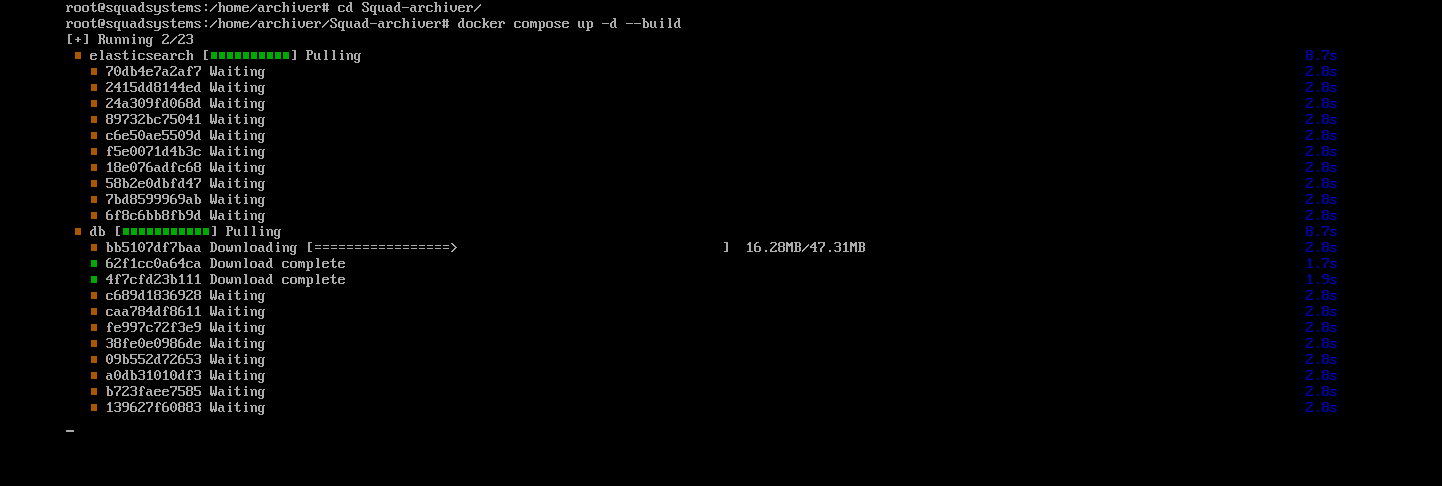
Build the Archiver with Docker
After saving the .env file, run the Docker compose build command to build and start the archiver application services.
.png)
Static 16
Open PhylaxVault
No other .env values need to be changed. The remaining security keys and internal settings are automatically generated when the container starts.
Set Up Email Journaling
Configure your mail platform to send a copy (journal) of every email to the archiver. The archiver receives these copies via SMTP on port 25. Choose the option that matches your email platform: